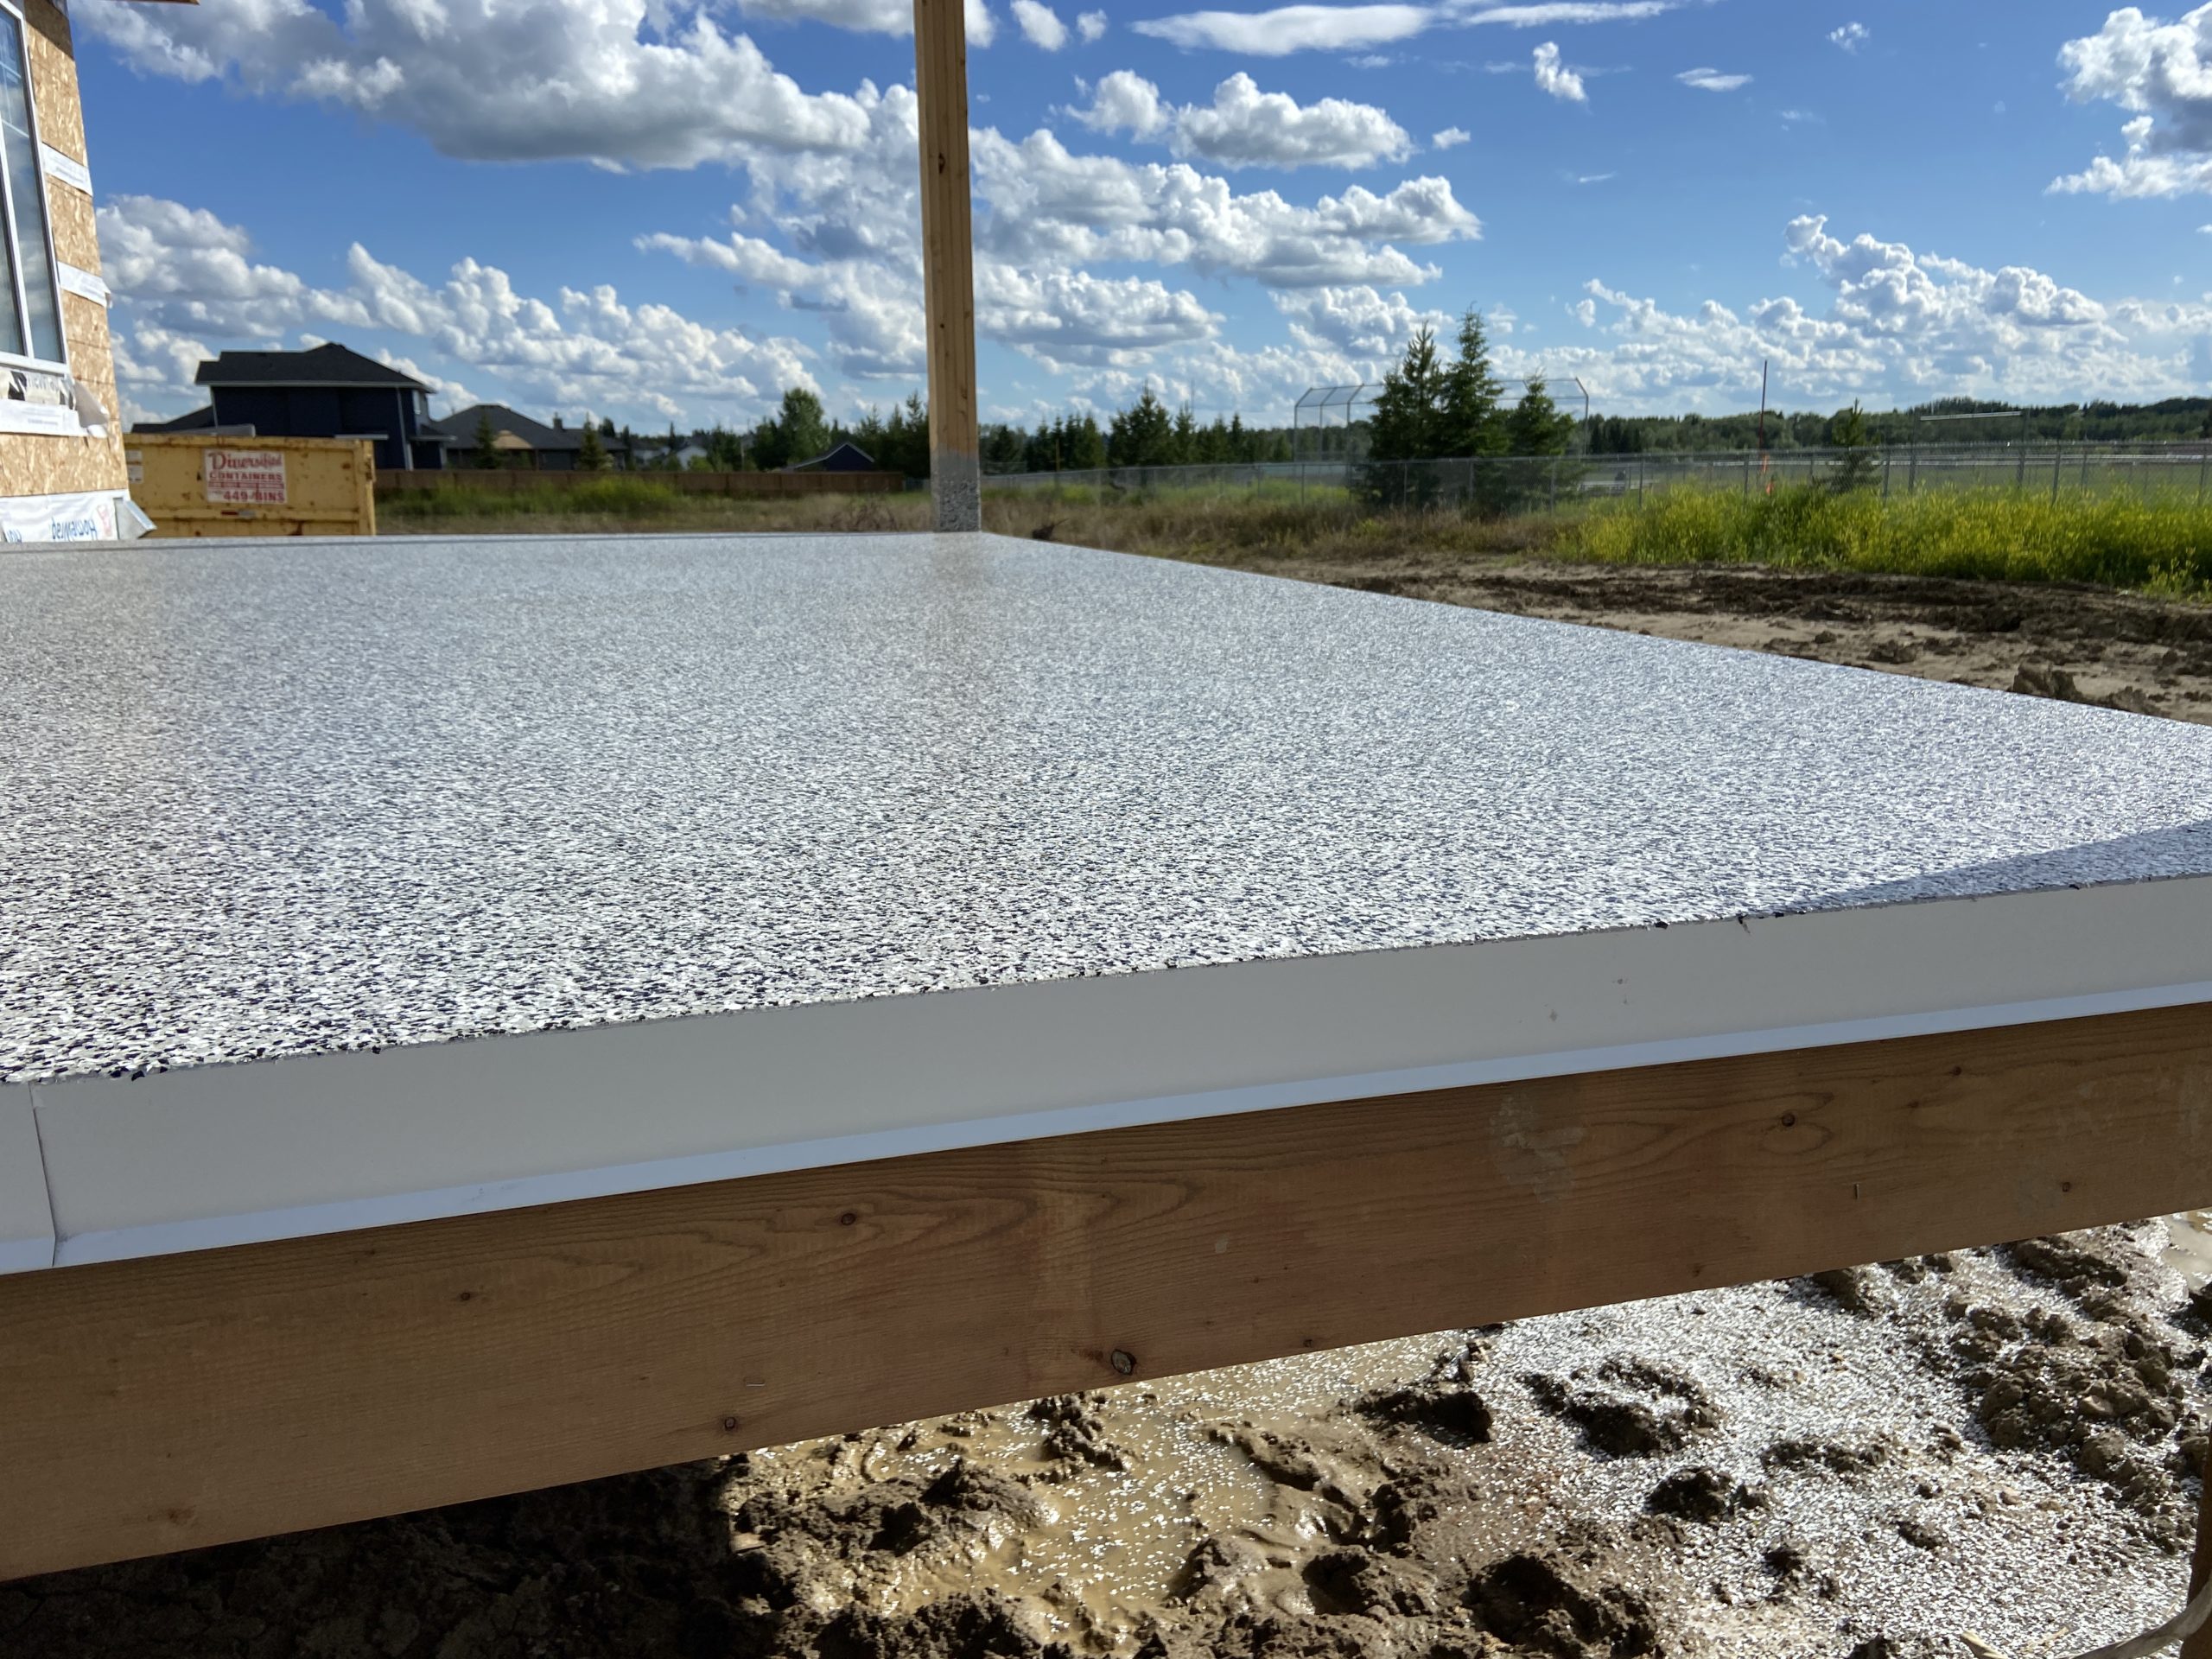
How to Connect Drip-Edge Flashing
A STEP BY STEP GUIDE TO CONNECTING TWO PIECES OF FLASHING Before installing Flexstone on a deck, most situations call for the installation (or re-installation) of drip edge flashing. The most common size is a 2″ x 2″ and the drip-edge is a small kicker that diverts water from the fascia board beneath it. These flashings are most commonly sold

10 Tips for applying Flexstone base coat
Remember – The hotter the surface and weather – the faster the Tuff Base mixture sets up & thickens * Start early or work late when surface is not hot and have white tarp to cover areas to keep out of the sun. 1 – It’s a good idea to start with seam taping, drip flashings and up walls –
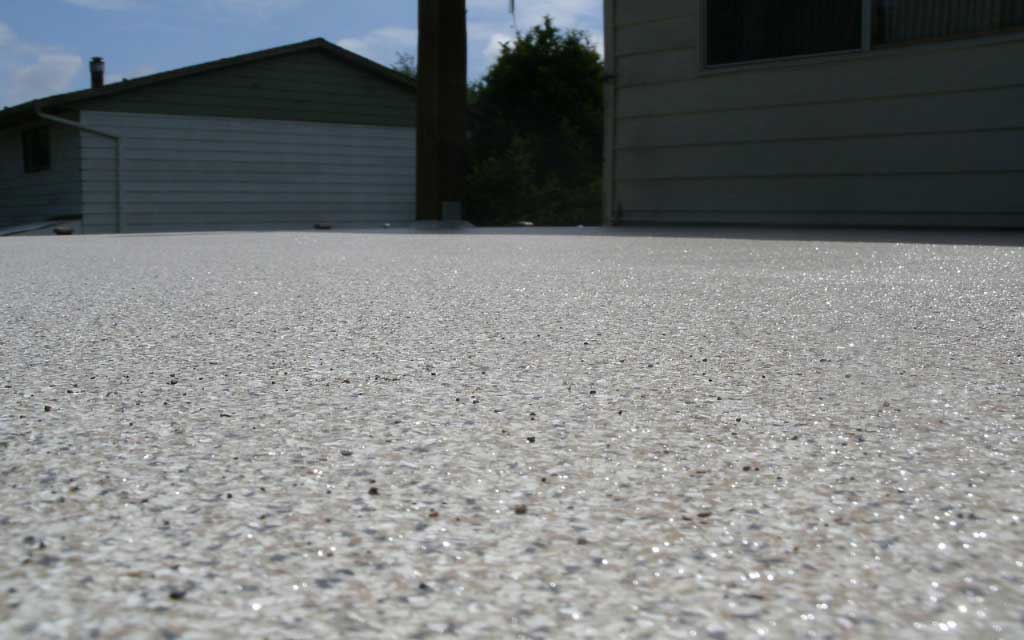
Proper Clear Coat Application
Although most Flexstone applications have no issues, the final step of the process, applying a clear coat over our acrylic flakes, can be a source of frustration. We want to clarify this process and provide our applicators with all the tools and information required to get an even glossy finish. Okay, let’s break down the processes so we’re on the